The Bunker Flop
First and foremost, you’ll need to select your most highest lofted wedge, and get ready to open the face at address. This will not only add loft to the face but, more importantly, it activates the bounce on the bottom of the club so that it doesn’t dig deep into the sand. It is imperative that we use the trailing edge of the sole to keep the club from digging, as opposed to he leading edge which will bury deep into the sand.
As you address the ball, make sure that you take a very wide stance as this will help you to squat down and get lower to the ground. This also, combined with digging you feet in, will create a very stable base for the shot. Now that your body is lower, you have made it easier on your self to get the handle of the club lower as well. The combination of getting your body and the handle lower are the chief requirements to hitting this shot high & soft.
Now that your body is in a great position to hit the shot at hand, we must talk about the general swing plane for this shot. Many people feel the need to swing very vertically/steep when trying to hit the ball into the air. Much has been said in the past of trying to ‘hit down’ when you want the ball to go high. This couldn’t be further from the truth. Hitting down will cause the club to dig into the sand which can cause the ball to stay in the bunker, or, come out with little to zero spin.
I want you to feel as though you are swinging around your belt, instead of above your shoulders. This will allow the club to slide through the sand on a shallow path with out digging.
Now take a few practice swings with the intention of ‘feeling’ the correct speed you want your arms and the club to swing together. Be confident in your decision. Now let it go…
The Low Trajectory Spinner Tour Wedge
This is about, really and shot between 20 & 70 yards where you have a decent amount of green to work with and a Clean lie. Like any short game shot, there are the right and wrong situations to use them. This shot is no different. Here is a great list of things to keep in mind;
- The ball and club face must be dry.
- Your angle of attack must be very shallow.
- There must be no grass in between the ball and club face.
- Sand on the face of the club can increase spin.
- The dynamic loft of the club at impact must be between 40* & 45*.
- The ball will take one big hop before it stops so it can be tough to execute with front pins.
What is the Coaching Model?
K Vest 3D Motion Capture System
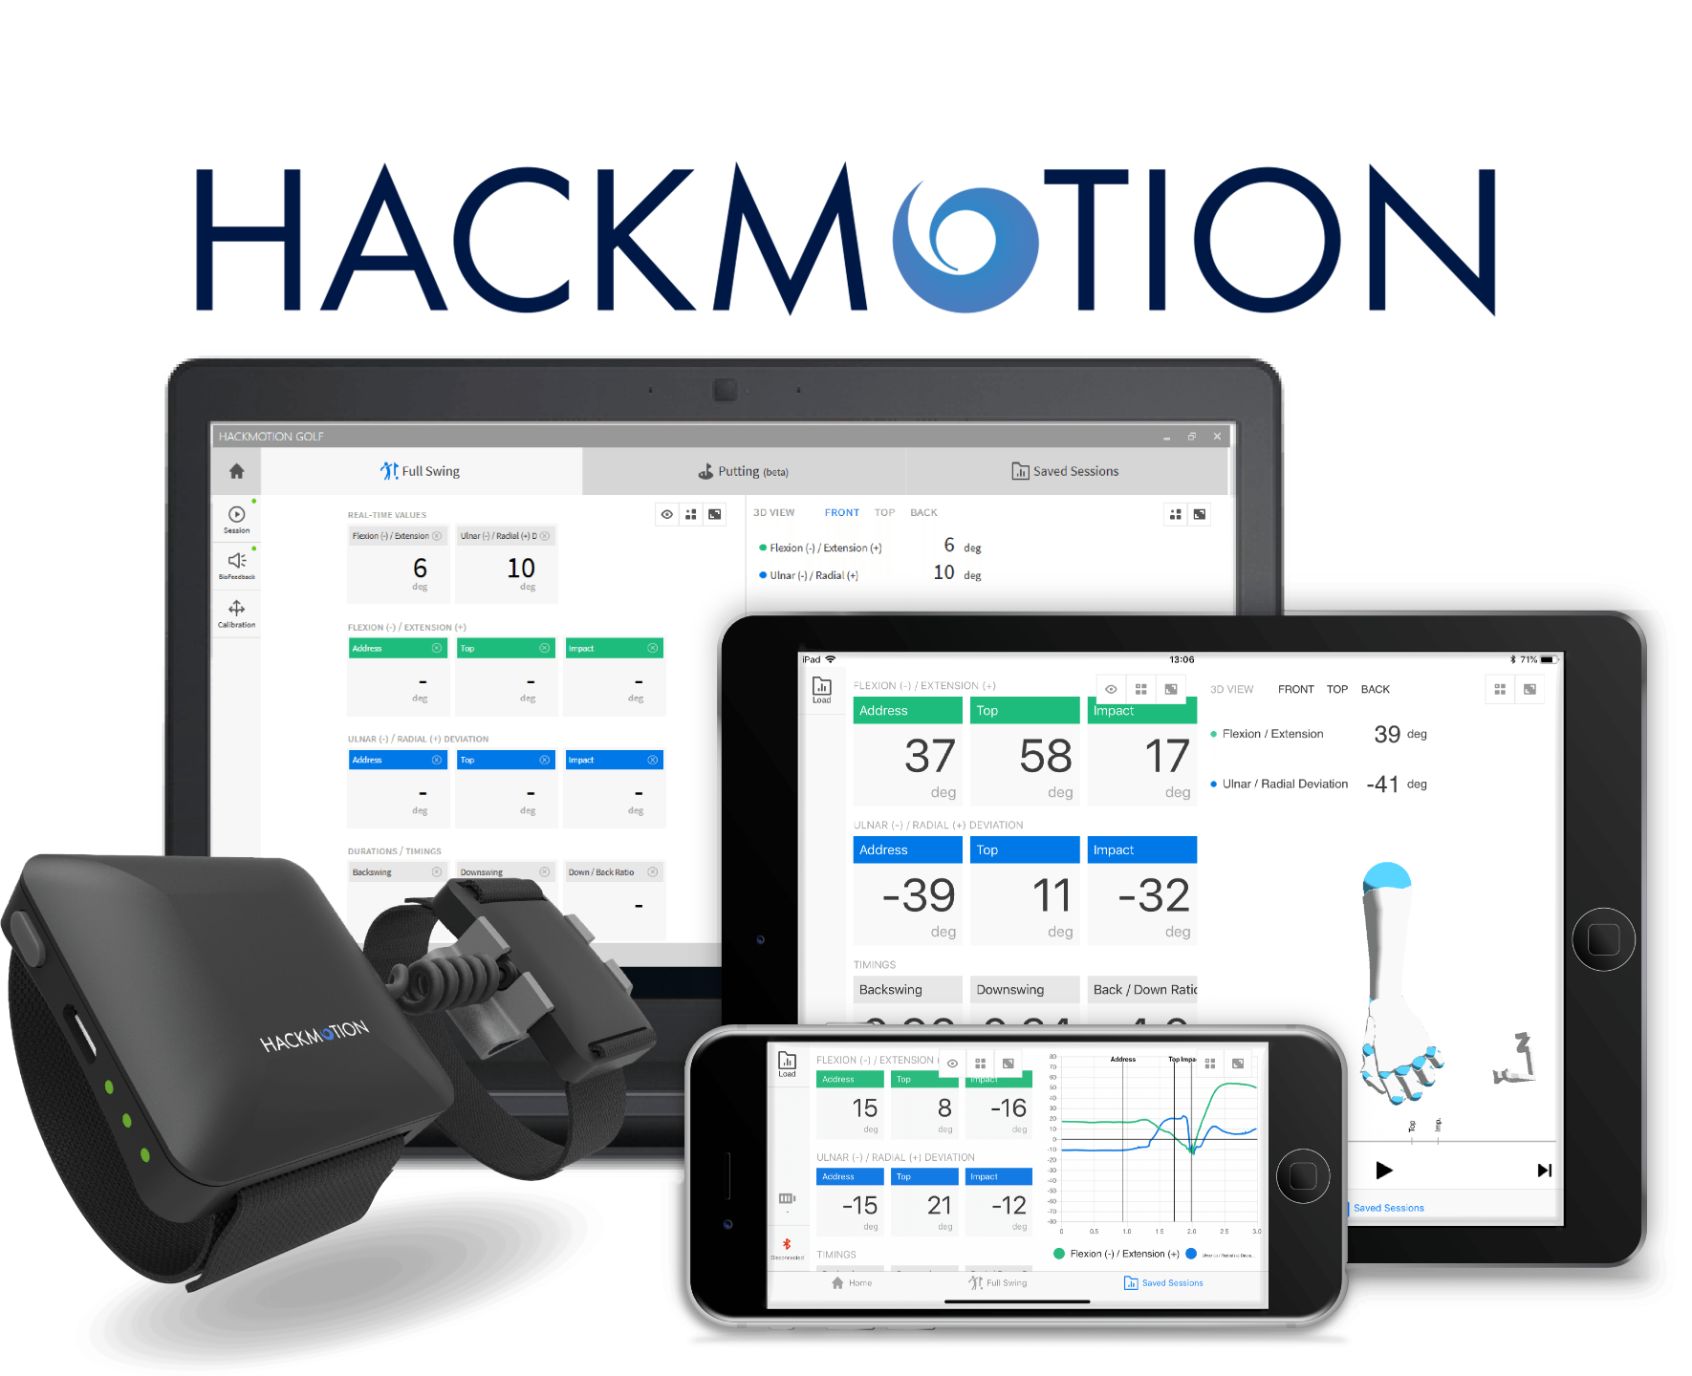
The systems communicates through Bluetooth to a laptop to gather data which measures the body’s forward & backward bend, right & left side bend, and rotational velocities in degrees per second. This is state of the art equipment that can tell the Coach exactly what is happening with the body during the golf swing. This is a great tool for maximizing the efficiency of the golf swing to ensure there are no power leaks.
The Bio-Feedback system that is included is amazing in helping the player to understand the exact position they need to get in with different parts of their body, at different points of the golf swing. No more will the player be working on something and have to ask “is that right?” The Bio-Feedback system will instantly tell the player if they have made the correct positions!
Ball Position Affects Your Angle of Attack & Club Path
Before going into how the ball position affects ball flight, we must understand how your Angle of Attack affects ball flight…
1. When the club head is traveling downward, it is also traveling to the right (right handed golfer), therefore, if the club face is square at impact, this will produce a hook.
2. When the club head is traveling upward (driver on a tee), it is also traveling to the left, therefore, a square club face at impact will produce a slice.
_
better speed makes more putts!
There is a great drill you can use to practice using different speeds to make the same putt. You will need 3 tees, 2 balls and a putt that, at the slowest speed, will break 4″ to 8″ from the edge of the cup. Preferably, you will practice this drill with putts that break to the left & to the right.
It is important that you alternate from one tee to the next so that your practice becomes more random…just like on the golf course where you Never have the same putt twice in a row! It is even more imperative that you go through your ENTIRE physical and mental pre-shot routine for every putt you roll. There is nothing more important to your golf game than making all practice Random and using your Pre-Shot Routine!!
is your putter making you worse?
Getting the ball started online is a multifaceted task that takes into account putter aim, putter style & putter path. The people who are struggling the most use a putter style that matches neither their eye alignment nor their path or stroke style. This forces them to manipulate the putter head to compensate for poor visual alignment and/or a path that isn’t complemented by their putter style.
Putter alignment is dictated by the head shape, hosel and alignment lines on the putter head. Heads and hosels that are more square and full of lines will tend to have a left aim bias. Putters that are round and free of lines will be more right aim biased. If your tendency is to aim left, be sure you aren’t using a boxy putter with a plumbers neck as this will exacerbate your problem! I always tend to aim left so I use putters with soft round shapes and a ‘flow neck’ connected to the heel with few to now lines. Everyone is different, so it is imperative to know your aiming tendencies.
The putter path is also dictated by your spine angle at address as a more vertical spine will accommodate a larger arc, while bending over like Michelle Wei will deliver less arc to the putter path.
Bottom line… make sure you know your tendencies so that you can ensure your putter isn’t holding you back!
Check out the video for some more alignment & putting tips!
Power Program
The 10 week program will include a session with TPI Medical Professional, Josh Feeney and with TPI Fitness Professional, Julian Sullivan. Both Professionals will give you a custom program tailored to individual needs, to ensure your body is not only capable of more speed and power, but also the tools necessary to create more power & speed. These assessments must all be completed during the first week of the program.
Each week with Ryan, who is a TPI Certified Power Coach, will be spent creating more efficient body movements paired with optimum club path and angle of attack measurements of the club head. We will be using state of the art technology in the Flightscope to test all club head and ball data & the K-vest Motion Capture System to create efficient body motions. Although driver fitting is included, you are not permitted to purchase a new driver until you have completed the first 7 weeks of the program.
Using the data gathered from our initial assessments, we will create a Player Goal Set which will be the focus of the entire 10 week program. The final week will include an exit assessment to go over all achievements.
controlling the ball with your eyes
To get to the root of the problem, we must look at the easiest shot in golf… the 18″ tap in putt. We have all made this putt a thousand times with one hand while standing on one foot! We do this by not running script with any instructions…it’s a physical reaction! Your eyes look at the hole, then the ball & your body reacts by sending the ball to it’s home. NO THINKING!
Here’s a great drill to help you develop your Body/Eye Connection to your putting. This works for all lengths of putts. It’s called the Fringe Hand Roll:
Take 2 balls out of your bag and head to the putting green. Find a large, relatively flat area and aim for the fringe on the other side. (DO NOT AIM FOR HOLES! This is a drill for speed, not a drill for making putts. Yes, they are very different and we can’t have you practicing missing putts!) Put one ball on the ground and hold the second ball in your throwing hand. While starring at the edge of the fringe, swing your hand back and forth, like you’re bowling, as you visualize the ball tumbling across the grass. Let it go.
You will find that with relative ease, this ball will have really good speed to it. Now step up to the first ball with your putter and…. Let it go! Do this for 10-15 minutes with putts of different lengths, uphill & downhill.
When you go out to the course and are reading your putts, spend some time swinging your arm while you visualize the ball rolling across the green and your speed control will improve drastically!
have fun creating more power
This drill is called the Step Change in Direction but most will recognize it as a take off of the Happy Gilmore movie. It is imperative that the body transition in the proper order to maximize efficiency in your swing. If the body is not being efficient, you will have power leakages.
This inefficiency is easiest to spot in those swings that come a little over the top as you can see with your eyes parts of the upper body firing before the lower body. Once the shoulders, arms or hand have begun the transition sequence, you can not catch up. Maximum power generation comes from the pelvis/lower body beginning the transition towards the target. This should be followed by the chest/upper body, then arms, hands and the club head at the end.
This drill helps ensure your weight shift toward the target is occurring in the correct order. It is also the most fun drill to work on as…hitting the ball far is Fun!


